
# Discord

Pipedream supports a few different ways to connect to Discord (opens new window):
- Discord Webhook: If you just need to send messages to a channel, use this integration.
- Discord Bot: This integration lets you interact with the Discord API (opens new window) to programmatically create channel invites, kick users from a guild, and more. You'll need to create your own bot and add it to your guild before using this integration (details below).
- Pipedream Bot in Discord: This integration creates a Discord source that emits messages from your guild to a Pipedream workflow.
You can also use any combination of Discord integrations in the same workflow! Read on to learn more.
# Discord Webhook
The Discord Webhook integration is the easiest way to send messages to a channel.
You can use Pipedream to automate any workflow where you need to receive a message in Discord. For example, you can:
- Receive data via webhooks, modify it with code, and format a specific Discord message.
- Run code on a schedule to hit an API and send the data on to a Discord channel.
- Use the email trigger to accept emails and forward them to Discord.
Watch this video to see how to create a new Discord webhook using Pipedream, and how to send the name of a random Star Wars character to a Discord channel once an hour:
See the finished workflow here (opens new window). We'll walk through the setup described in the video below.
# Using the Discord Webhook integration
To use this integration, add a new step to your workflow and choose the Discord Webhook app:
select the Send Message to Channel action:

then connect your Discord account. When authorizing Pipedream access to your Discord account, you'll be asked to create a webhook for your target Discord server and channel.
If you'd like to create another webhooks in another channel, you can create another Discord Webhook connection. You can send a message to any number of Discord webhooks within a single workflow.
# Example: Send an embed
Discord embeds (opens new window) are richly-formatted messages that include images, fields, and text, arranged in a custom way. You can send embeds using the Discord Webhook Send Message to Channel action in Pipedream.
Copy this example workflow to get started (opens new window). This workflow formats an example embed in the format_embed_message step, exporting it for use in future steps.
this.msg = [
  {
    title: "Hello!",
    description: "Hi! :grinning:",
  },
];
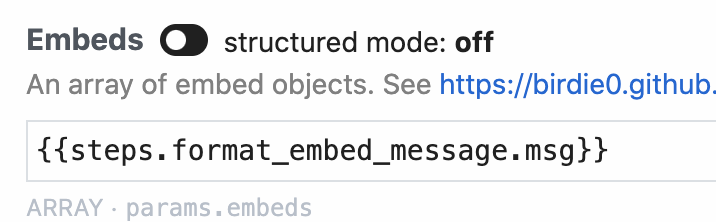
In the next step, we use the Discord Webhook Send Message to Channel action. This action expects either a Message or an Embeds parameter, which is delivered to your target channel. In this example workflow, we've selected the Embeds param, turned structured mode off (this allows us to enter an expression for the Embeds array), and entered the value {{steps.format_embed_message.msg}}, which evaluates to the array of objects we formatted in the step above:
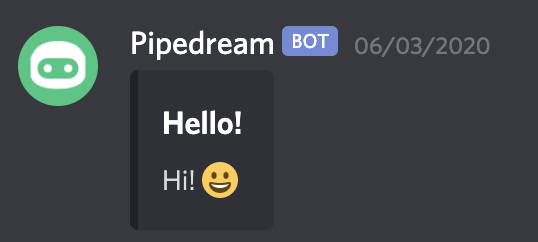
This should send a message to Discord that looks something like:
# Discord Bot
The Discord Bot integration should be used when you have a Discord bot that you've added to a server, and you want to automate interaction with the Discord API using Pipedream. You can use this integration to:
- Accept HTTP requests from a webhook and automate common server actions, like automatically sending any new user who signs up for your app a channel invite.
- Run code on a schedule to regularly check your Discord audit log (opens new window) and send you an email of any events you want to monitor.
- Any other administrative action you want to drive programmatically, triggered from any event.
If you just want to send messages to a channel, check out the Discord Webhook integration, instead.
Watch this video to see how to create your own Discord bot, add it to a server, and make some requests to the Discord API from Pipedream:
See the finished workflow here (opens new window). We'll walk through the setup described in the video below.
# Using the Discord Bot integration
You'll need to create a Discord bot and add it to your server before you begin. Watch the first couple minutes of the video above, or follow the instructions in this guide (opens new window) to create that bot and add it to your server.
Once that's done, add a new step to your workflow and choose the Discord Bot app:
select any of the actions that appear:
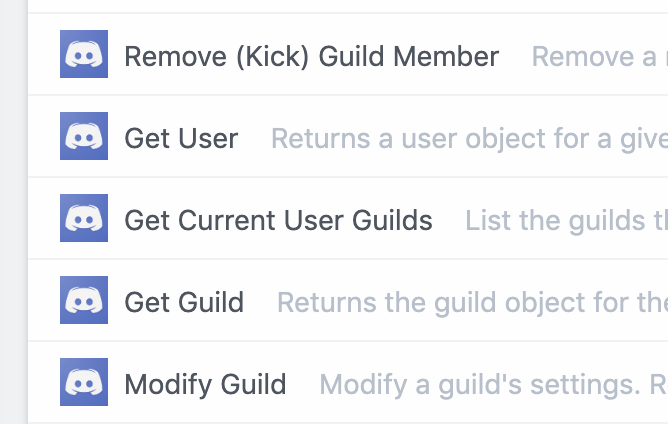
and connect your account. You'll be asked to add your Discord bot token, which you can find under the Bot section of your app. Then deploy your workflow and start making API requests.
# Requesting more Discord Bot Actions
To request a new Discord Bot action, please file an issue on our Github repo (opens new window).
# Limitations of the Bot integration on Pipedream
Right now, the Discord Bot integration cannot utilize the Discord Gateway (opens new window) to receive events via websockets or make API requests that require an initial connection to the gateway.
Please reach out (opens new window) if prevents you from building a workflow. We're happy to prioritize support for this in the future.
# Pipedream Bot in Discord
# Using the Pipedream Bot integration
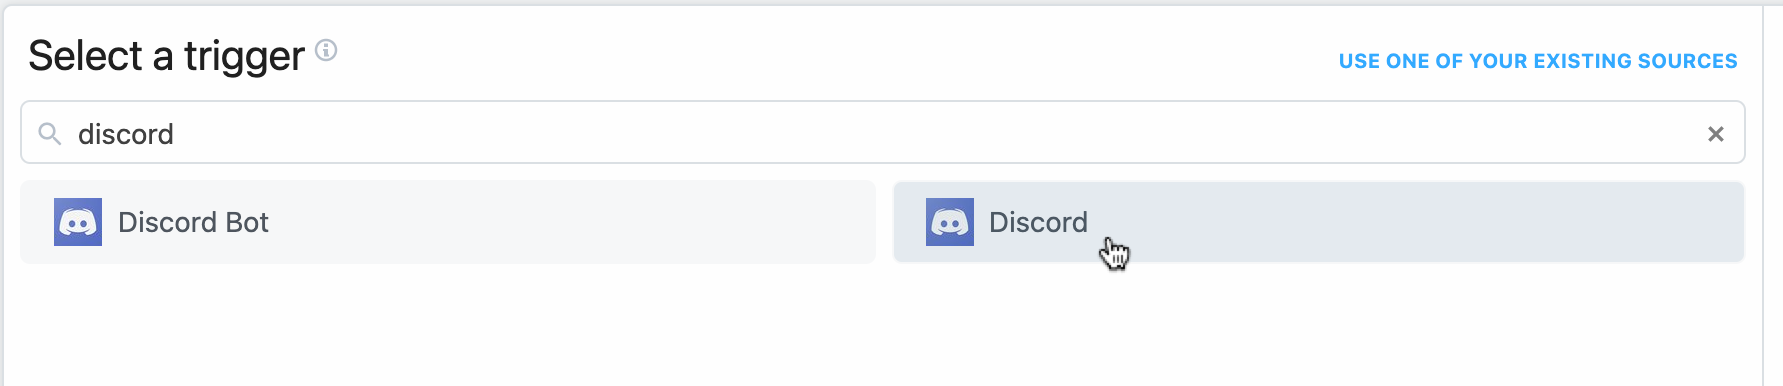
To get started with this integration, create a new workflow (opens new window). When setting up the trigger, select "Discord" as the app, then choose "New Message".
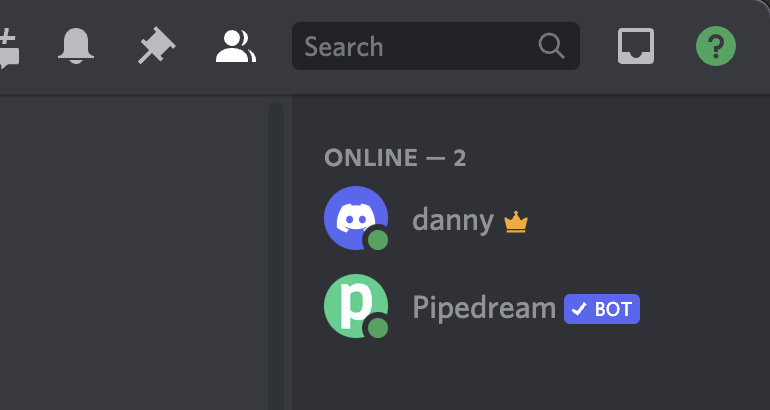
You'll be prompted to sign in to your Discord account if you haven't already connected it to Pipedream, then you can select the channel(s) to which you'd like to add the Pipedream Bot, and create the source. You should now see the Pipedream Bot in your relevant Discord channel(s).
# Discord Event Source
Event sources in Pipedream let you trigger workflows on new events from the partner API. In the case of Discord for example, you can create a source that listens for new messages in a Discord channel (opens new window), and trigger a workflow to run on each new message.