> ## Documentation Index
> Fetch the complete documentation index at: https://pipedream.com/docs/llms.txt
> Use this file to discover all available pages before exploring further.
# What Are Workflows?
export const PUBLIC_APPS = '3,000';
Workflows make it easy to integrate your apps, data, and APIs - all with no servers or infrastructure to manage. They’re sequences of [steps](/workflows/#steps) [triggered by an event](/workflows/building-workflows/triggers/), like an HTTP request, or new rows in a Google sheet.
You can use [pre-built actions](/workflows/building-workflows/actions/) or custom [Node.js](/workflows/building-workflows/code/nodejs/), [Python](/workflows/building-workflows/code/python/), [Golang](/workflows/building-workflows/code/go/), or [Bash](/workflows/building-workflows/code/bash/) code in workflows and connect to any of our {PUBLIC_APPS} integrated apps.
Read [our quickstart](/workflows/quickstart/) or watch our videos on [Pipedream University](https://pipedream.com/university) to learn more.
## Steps
Steps are the building blocks you use to create workflows.
* Use [triggers](/workflows/building-workflows/triggers/), [code](/workflows/building-workflows/code/), and [pre-built actions](/components/contributing/#actions)
* Steps are run linearly, in the order they appear in your workflow
* You can pass data between steps using [the `steps` object](/workflows/#step-exports)
* Observe the logs, errors, timing, and other execution details for every step
### Triggers
Every workflow begins with a [trigger](/workflows/building-workflows/triggers/) step. Trigger steps initiate the execution of a workflow; i.e., workflows execute on each trigger event. For example, you can create an [HTTP trigger](/workflows/building-workflows/triggers/#http) to accept HTTP requests. We give you a unique URL where you can send HTTP requests, and your workflow is executed on each request.
You can add [multiple triggers](/workflows/building-workflows/triggers/#can-i-add-multiple-triggers-to-a-workflow) to a workflow, allowing you to run it on distinct events.
### Code, Actions
[Actions](/components/contributing/#actions) and [code](/workflows/building-workflows/code/) steps drive the logic of your workflow. Anytime your workflow runs, Pipedream executes each step of your workflow in order. Actions are prebuilt code steps that let you connect to hundreds of APIs without writing code. When you need more control than the default actions provide, code steps let you write any custom Node.js code.
Code and action steps cannot precede triggers, since they’ll have no data to operate on.
Once you save a workflow, we deploy it to our servers. Each event triggers the workflow code, whether you have the workflow open in your browser, or not.
## Step Names
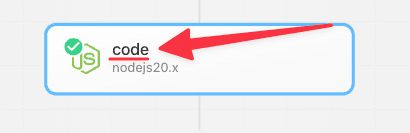
Steps have names, which appear at the top of the step:
When you [share data between steps](/workflows/#step-exports), you’ll use this name to reference that shared data. For example, `steps.trigger.event` contains the event that triggered your workflow. If you exported a property called `myData` from this code step, you’d reference that in other steps using `steps.code.myData`. See the docs on [step exports](/workflows/#step-exports) to learn more.
You can rename a step by clicking on its name and typing a new one in its place:
After changing a step name, you’ll need to update any references to the old step. In this example, you’d now reference this step as `steps.get_data`.
Step names cannot contain spaces or dashes. Please use underscores or camel casing for your step names, like `getData` or `get_data`.
## Passing data to steps from the workflow builder
You can generate form based inputs for steps using `props`. This allows the step reuse in across many workflows with different provided arguments - all without changing code.
Learn more about using `props` in our [Node.js code step documentation.](/workflows/building-workflows/code/nodejs/#passing-props-to-code-steps)
Passing props from the workflow builder to workflow steps are only available in Node.js code steps.
We do not currently offer this feature for Python, Bash or Go powered code steps.
## Step Exports
Step exports allow you to pass data between steps. Any data exported from a step must be JSON serializable; the data must be able to stored as JSON so it can be read by downstream steps.
For examples of supported data types in your steps language, see the examples below.
* [Node.js (JavaScript)](/workflows/building-workflows/code/nodejs/#sharing-data-between-steps)
* [Python](/workflows/building-workflows/code/python/#sharing-data-between-steps)
* [Bash](/workflows/building-workflows/code/bash/#sharing-data-between-steps)
* [Go](/workflows/building-workflows/code/go/#sharing-data-between-steps)
## Step Notes
Pipedream lets you add notes to individual steps in your workflow so you can include helpful context to other workspace members or even yourself, and you can even write markdown!
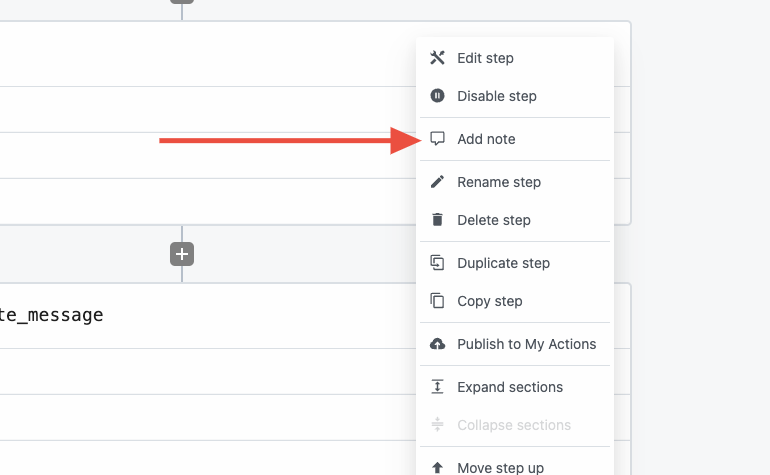
### Adding or editing a note
1. Enter build mode on any workflow
2. Click into the overflow menu (3 dots) at the top right of any step
3. Select **Add note** (or **Edit note** if making changes to an existing note)
4. Add any text or markdown, then click **Update**
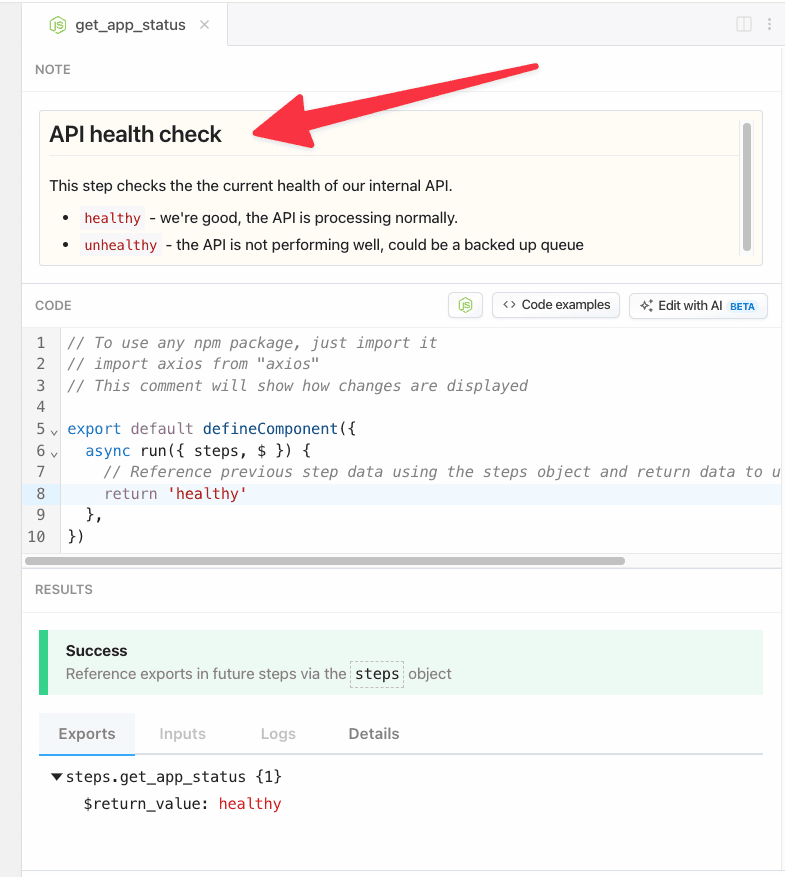
### Showing notes
Any step that has a note will have a **Note** section in the top panel in the editor pane.
### Current limitations
* Step notes are only accessible in Build mode, not in the Inspector.
 When you [share data between steps](/workflows/#step-exports), you’ll use this name to reference that shared data. For example, `steps.trigger.event` contains the event that triggered your workflow. If you exported a property called `myData` from this code step, you’d reference that in other steps using `steps.code.myData`. See the docs on [step exports](/workflows/#step-exports) to learn more.
You can rename a step by clicking on its name and typing a new one in its place:
When you [share data between steps](/workflows/#step-exports), you’ll use this name to reference that shared data. For example, `steps.trigger.event` contains the event that triggered your workflow. If you exported a property called `myData` from this code step, you’d reference that in other steps using `steps.code.myData`. See the docs on [step exports](/workflows/#step-exports) to learn more.
You can rename a step by clicking on its name and typing a new one in its place:
 After changing a step name, you’ll need to update any references to the old step. In this example, you’d now reference this step as `steps.get_data`.
 ### Adding or editing a note
1. Enter build mode on any workflow
2. Click into the overflow menu (3 dots) at the top right of any step
3. Select **Add note** (or **Edit note** if making changes to an existing note)
4. Add any text or markdown, then click **Update**
### Adding or editing a note
1. Enter build mode on any workflow
2. Click into the overflow menu (3 dots) at the top right of any step
3. Select **Add note** (or **Edit note** if making changes to an existing note)
4. Add any text or markdown, then click **Update**
 ### Showing notes
Any step that has a note will have a **Note** section in the top panel in the editor pane.
### Showing notes
Any step that has a note will have a **Note** section in the top panel in the editor pane.